
To configure DisplayLink docks on Mac M-Series chips, first download and install the latest DisplayLink Manager driver compatible with your macOS version. After connecting the dock via USB-C or USB-A, guarantee peak performance by updating macOS and the DisplayLink Manager app. Access Display Preferences to set resolutions and arrangements, unchecking “Mirror Displays” for an extended setup. With M1 chips supporting up to four external displays, users can enhance productivity noticeably. More instructions await for efficient setup.
Key Takeaways
- Download and install the latest DisplayLink Manager driver, ensuring compatibility with your macOS version for M-Series chips.
- Connect the DisplayLink dock via USB-C or USB-A, utilizing the correct adapter if required.
- Access Display Preferences to configure resolutions and extend displays; uncheck “Mirror Displays” for an extended desktop setup.
- Utilize the DisplayLink Manager app, particularly on macOS 12 Monterey or higher, for optimal settings and adjustments.
- Regularly check for updates to the DisplayLink Manager to maintain compatibility and performance with your M-Series Mac.
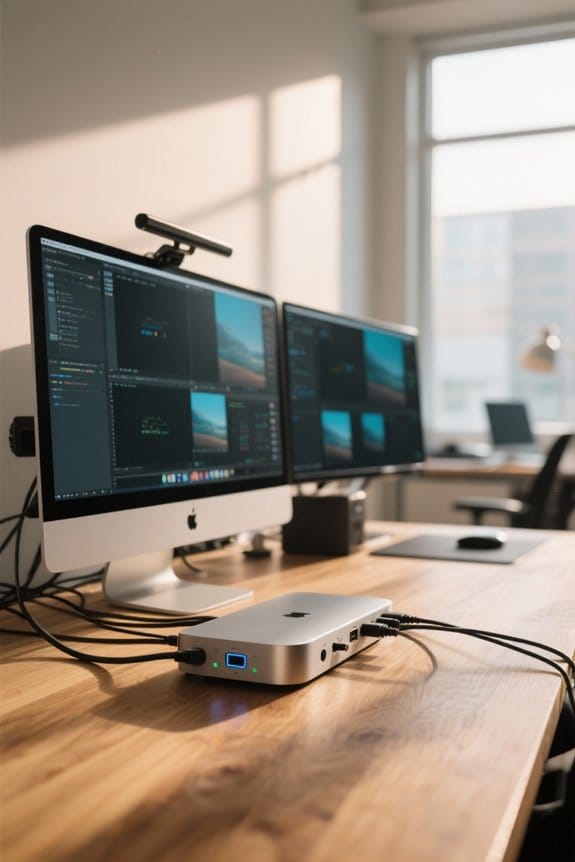
Installing DisplayLink Drivers
To begin utilizing a DisplayLink dock on Mac M-Series chips, users must first download the latest version of the DisplayLink Manager driver from the official DisplayLink website, ensuring that it is compatible with the specific macOS version installed on the device. After downloading, the installation process entails simply executing the driver file to integrate it with the operating system. To finalize the setup, users should restart their Mac, allowing the system to recognize the dock. Subsequently, opening the DisplayLink Manager app facilitates the adjustment of various display settings, including resolution and arrangement. Regular checks for driver updates within the DisplayLink Manager are essential for maintaining peak performance and compatibility with future macOS updates, although some features might remain limited. For optimal visual performance when using external displays, ensure your dock supports 4K@60Hz output which is increasingly important for professional media work in 2026.
Connecting Your Dock and Displays
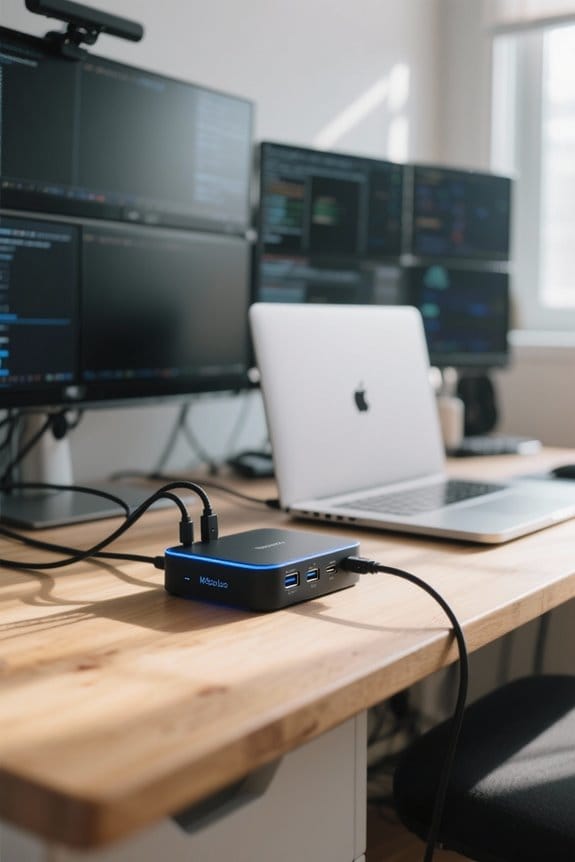
Connecting a DisplayLink dock to a Mac M-Series chip enhances productivity by enabling multiple external displays, effectively transforming the workspace. To initiate this process, one must connect the dock via a USB-C or USB-A port, ensuring the use of the correct adapter for compatibility if required. The next step involves downloading and installing the latest DisplayLink Manager app from DisplayLink’s official website, which is essential for the recognition of additional displays. External monitors may then be connected to the dock utilizing HDMI or DisplayPort connections, depending on the dock’s specifications. Finally, it is recommended to keep macOS updated to optimize performance and facilitate seamless multitasking through the appropriate configuration settings within System Preferences. Modern docks support dual 4K displays with resolutions up to 60Hz for superior visual performance.
Configuring Display Resolutions and Arrangements
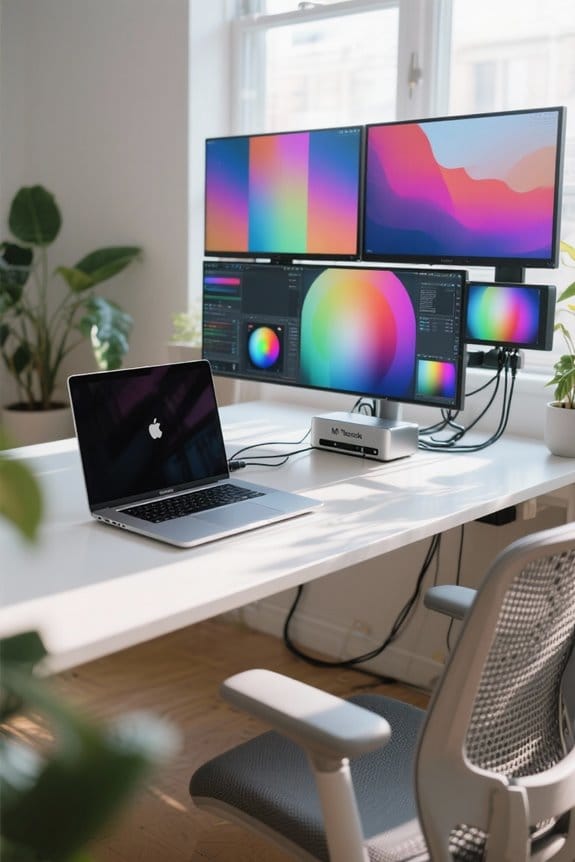
When configuring display resolutions and arrangements on Mac M-Series chips with DisplayLink docks, users must first access the Display Preferences menu, where a variety of resolution options tailored to the connected monitors are available, ensuring they align with the specifications of each display. For extended desktop setups, it is essential to uncheck the “Mirror Displays” option in the Arrangement pane to maximize workspace across multiple displays. Users can drag and position displays in this pane, with a red border indicating the display currently being adjusted. For those on macOS 12 Monterey or higher, the DisplayLink Manager App is necessary for specific settings, including rotation for displays, while ensuring connection methods respect bandwidth limitations. Using a charger with 45W to 65W output is recommended when connecting multiple displays to ensure stable power delivery during extended use.
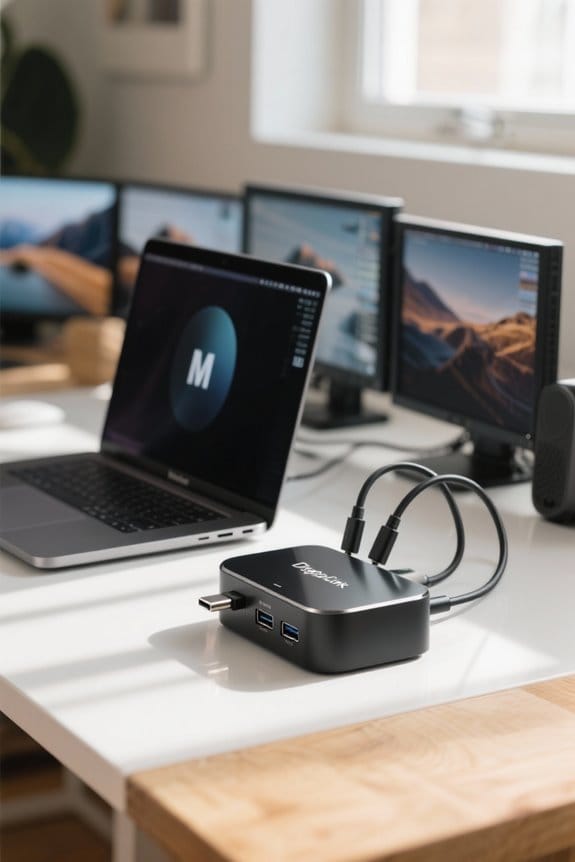
Enabling Extended and Mirrored Display Modes
Enabling extended and mirrored display modes on a Mac M-Series chip utilizing a DisplayLink dock requires careful adjustment of display settings to maximize functionality and performance. To engage extended mode, users must verify the “Mirror Display” option is unchecked within the Display Preferences’ Arrangement pane. For macOS Ventura 13.x and newer, selecting ‘Stop Mirroring’ under the Use as section allows for effective use of each connected monitor. Conversely, to activate mirrored display, one must check the “Mirror Display” box in earlier macOS versions or select the appropriate option in newer versions. Additionally, updating the DisplayLink Manager app is essential for maintaining compatibility; M1 chips support up to four external displays, enhancing productivity considerably. Most adapters offer data transfer speeds up to 921.6 Kbps to ensure smooth display performance across multiple monitors.
Troubleshooting Common Issues
Troubleshooting common issues with DisplayLink docks on Mac M-Series chips often involves a systematic approach to identifying and resolving connectivity problems. First, it is essential to ascertain that the latest DisplayLink Manager app is installed, as updates frequently address compatibility issues. Additionally, verify that the docking station itself supports DisplayLink technology since some models may lack DisplayLink chipsets. Users should also check connection types and ports to confirm they are suitable for dual displays, acknowledging that Mac M-Series chips have native display limitations. If an external monitor is not recognized, try unplugging and re-plugging the dock or using different ports, and remember that DisplayPort MST is not supported on macOS, which can complicate multi-monitor setups, especially for video content. When connecting multiple devices through a dock, ensure your power adapter supports GaN technology for optimal efficiency and performance during heavy usage.
Frequently Asked Questions
How to Configure Displaylink Displays on Mac?
To configure DisplayLink displays on a Mac, users must install the necessary drivers, connect via USB-C, adjust DisplayLink settings, manage multiple monitors, and configure display resolution and screen mirroring for ideal external display configurations.
How Do I Setup My Displaylink Docking Station?
Setting up a DisplayLink docking station demands attention; successful connections rival problem-solving adventures. Begin with DisplayLink setup and drivers, ensuring Mac compatibility, then configure multi monitor settings and troubleshoot for ideal DisplayLink performance and resolutions.
Can You Daisy Chain a M1 Macbook?
An M1 MacBook cannot daisy chain displays due to limited M1 performance and compatibility. Users should consider DisplayLink alternatives for a multi-display setup, leveraging USB-C functionality and appropriate docking station benefits for superior screen resolution.
Does the Displaylink Docking Station Work With Mac?
“Two heads are better than one.” DisplayLink compatibility allows M Series Macs to connect multiple external monitors despite dock limitations. Users must install the necessary drivers and adjust Mac settings for ideal resolution options and performance. Troubleshooting tips enhance user experiences.


